Applications/Programs
- Canva staff access
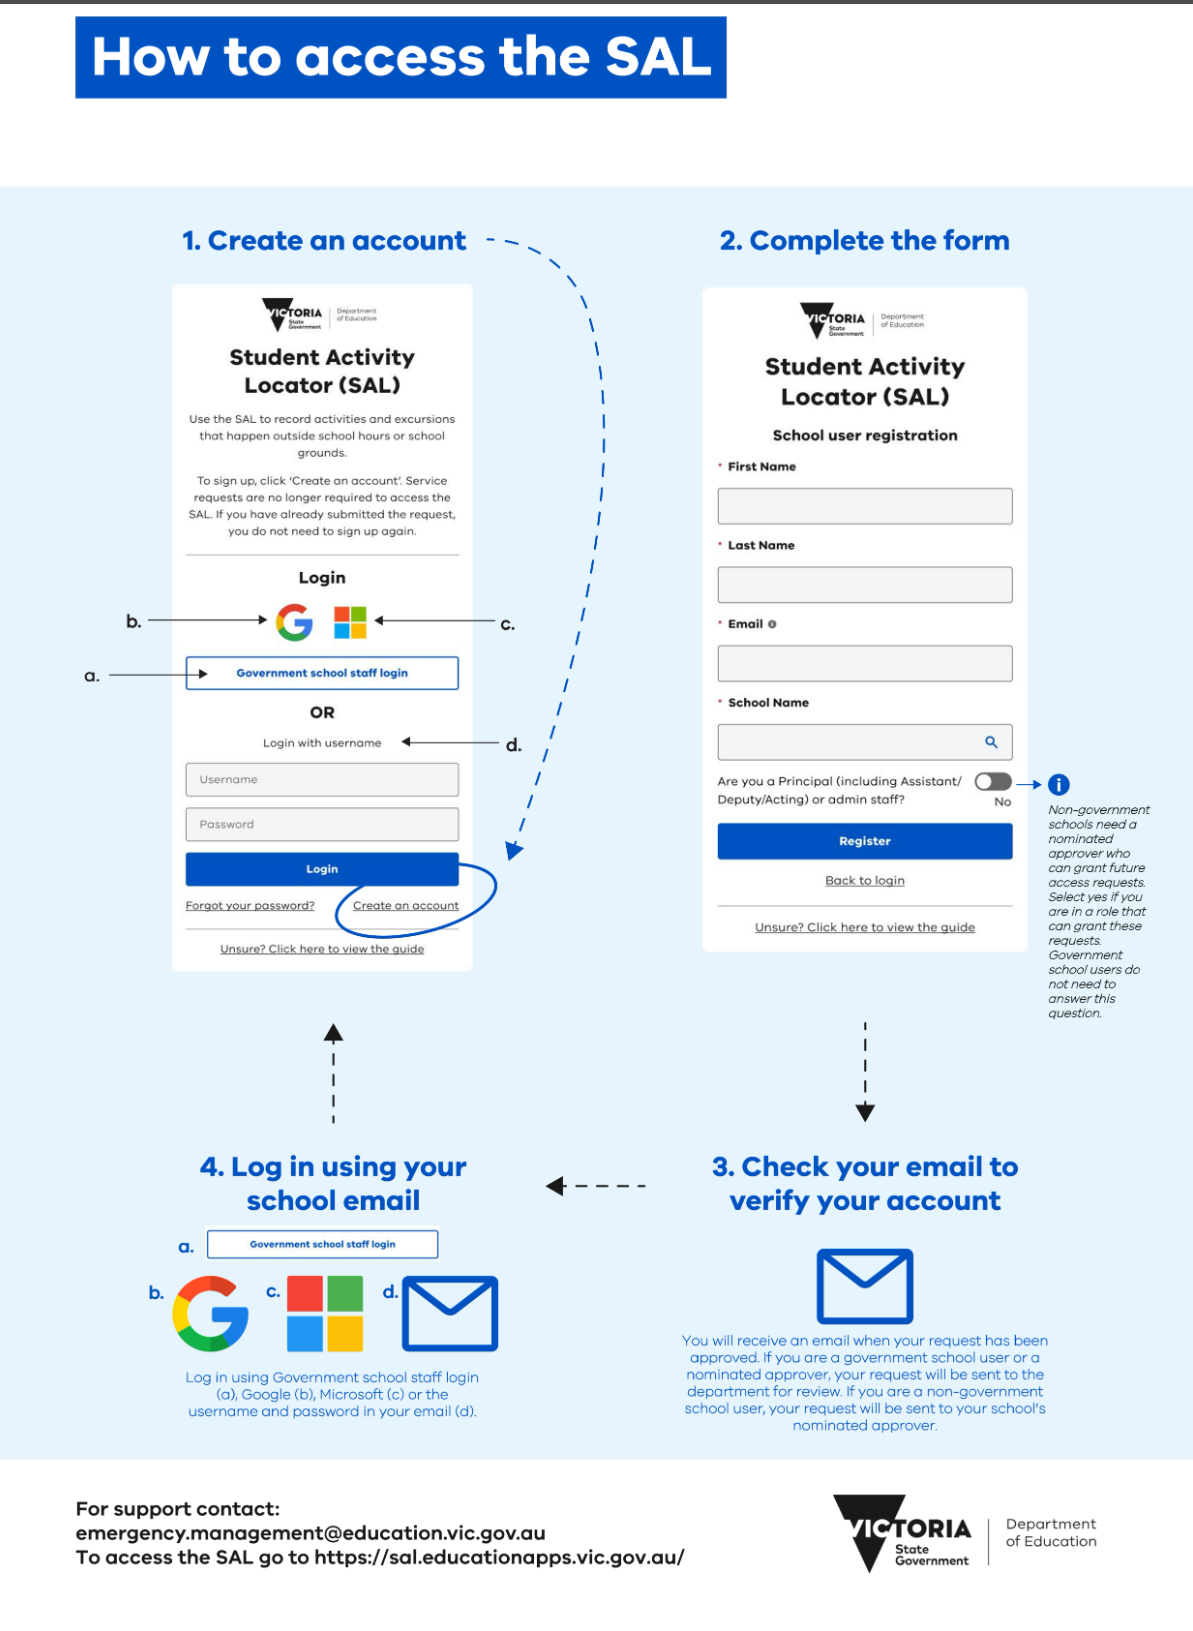
- How to access Student Activity Locator (SAL)
- How to Clear Web Browser Cookies and Cache
- Installation and Licensing Guide: RealCAD 5.5
- Installation and Licensing Guide: RealCAD 5.5
- Unblocking Websites
- Webex App | Change your audio settings
Canva staff access

Canva is a design tool that helps you create assets for social media, websites, posters, PowerPoints and more.
Teachers and students can access Canvas premium features for free.
How to login:
- Simply access https://www.canva.com/
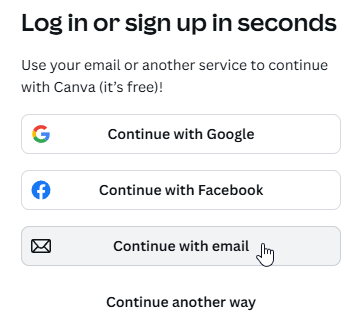
- Click Login

- Click Continue with email

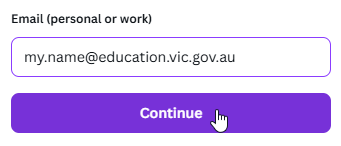
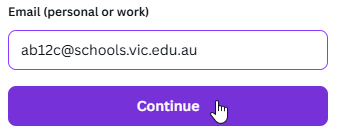
- Enter your @education or @schools email address and click Continue.


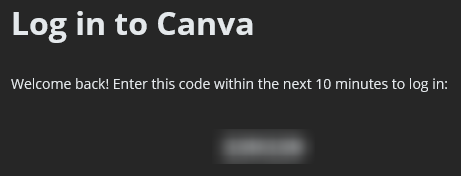
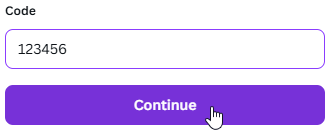
- You will receive an email with the subject "Your Canva code is xxxxxx". Open it and copy the code to your clipboard.

- Paste the code from your clipboard into the website's code field.

- You are now logged in to Canva. If you have any issues with your account, please contact the IT department.



How to access Student Activity Locator (SAL)
How to Clear Web Browser Cookies and Cache
Below are step-by-step instructions for clearing cookies and cached files in common web browsers. Always ensure the relevant items are selected when clearing your data.
Microsoft Edge
Google Chrome
Brave
- Click the 3-line menu at the top right and select History.
- Select Clear recent history…
- Ensure the following items are checked:
- Cookies and site data
- Temporary cached files and pages
Mozilla Firefox
- Click the 3-line menu at the top right and select History.
- Select Clear recent history…
- Ensure the following items are checked:
- Cookies and site data
- Temporary cached files and pages
Opera
- Click the Opera icon at the top left and select History > Clear browsing data.
- Ensure the following items are checked:
- Cookies and other site data
- Cached images and files
Safari
- Click Safari at the top left, then select Preferences…
- Go to the Privacy tab and click Manage Website Data…
- Click Remove All
Installation and Licensing Guide: RealCAD 5.5
Step 1: Access the Installation Files
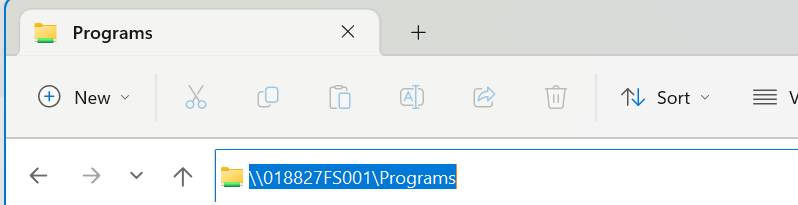
- Open File Explorer.

- In the address bar, enter:
\\018827FS001\Programs - If prompted to log in:
- Username:
DE username - Password: Your DE password
- Username:
- Navigate to the folder
RealCAD-v5.5and open it. - Double-click
RealCAD-v5.5-Installer.exeto start the installation. - Follow the on-screen instructions to complete the installation.
Step 2: License RealCAD 5.5
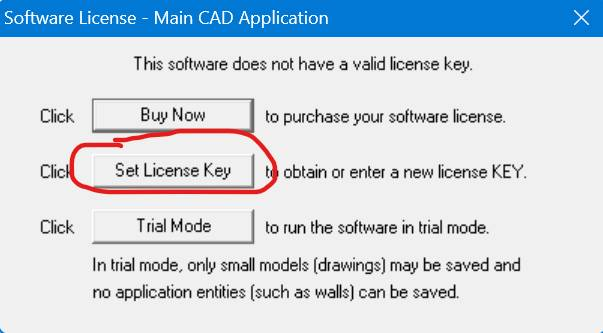
- Launch RealCAD 5.5 for the first time.
- Click Set License Key.
- Under Have you purchased?, select Yes.
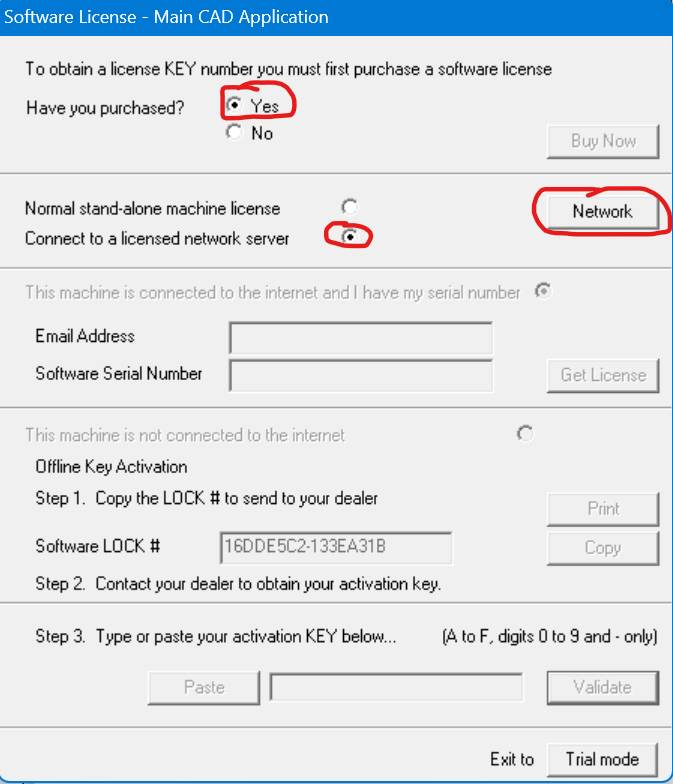
- Choose Connect to a licensed network server.
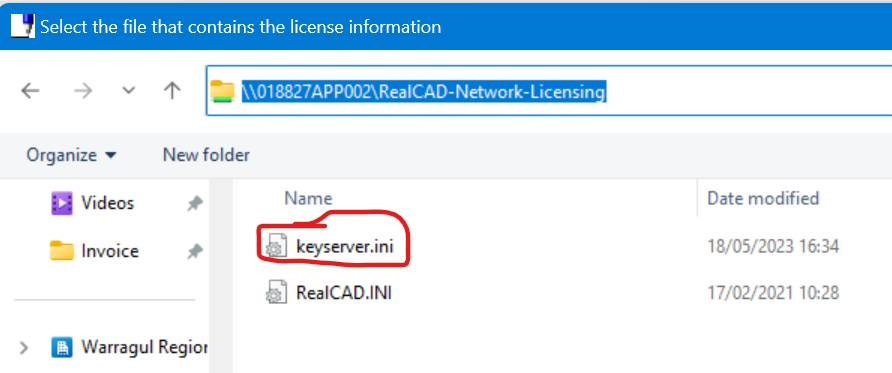
- Enter or copy the following into the address bar:
\\018827APP002\RealCAD-Network-Licensing
- Double-click
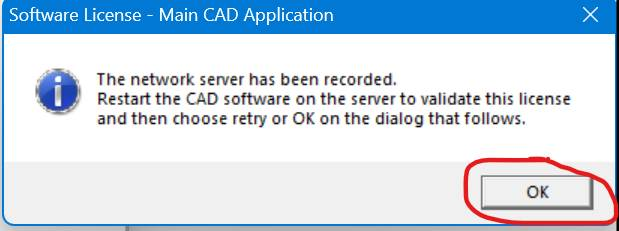
keyserver.ini. - Important: Do not click OK immediately. IT must restart the RealCAD 5.5 License Server to apply the license to your device. Once the license has been applied, RealCAD 5.5 is ready for use.

Step 3: Troubleshooting
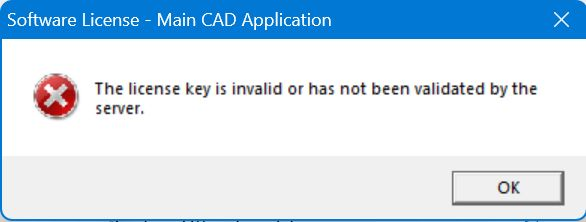
If you receive an error message during licensing:
-
Create a support ticket: https://support.wrc.vic.edu.au/
- Sign in with your WRC account (not your email address)
-
Alternatively, email it@wrc.vic.edu.au requesting the RealCAD 5.5 License Server to be restarted.

Installation and Licensing Guide: RealCAD 5.5
Installation and Licensing Guide: RealCAD 5.5
Step 1: Access the Installation Files
-
Open File Explorer.
-
In the address bar, enter: \\018827FS001\Programs
-
If prompted to log in:
-
Username:
curric\<your WRC username>(e.g.,curric\abc1234) -
Password: Your WRC password
-
-
Navigate to the folder RealCAD-v5.5 and open it.
-
Double-click RealCAD-v5.5-Installer.exe to start the installation.
-
Follow the on-screen instructions to complete the installation.
Step 2: License RealCAD 5.5
-
Launch RealCAD 5.5 for the first time.
-
Click Set License Key.
-
Under Have you purchased?, select Yes.
-
Choose Connect to a licensed network server.
-
Enter or copy the following into the address bar: \\018827APP002\RealCAD-Network-Licensing
-
Double-click keyserver.ini.
Important: Do not click OK immediately. IT must restart the RealCAD 5.5 License Server to apply the license to your device. Once the license has been applied, RealCAD 5.5 is ready for use.
Step 3: Troubleshooting
If you receive an error message during licensing:
-
Create a support ticket: https://support.wrc.vic.edu.au/
Sign in with your WRC account (not your email address).
Alternatively, email it@wrc.vic.edu.aurequesting the RealCAD 5.5 License Server to be restarted.
Unblocking Websites
As of 2025, WRC IT no longer maintains a list of blocked/unblocked websites, nor do they have the power to action such requests.
The Department of Education now controls internet access and the allowing / disallowing of access to specific online resources.
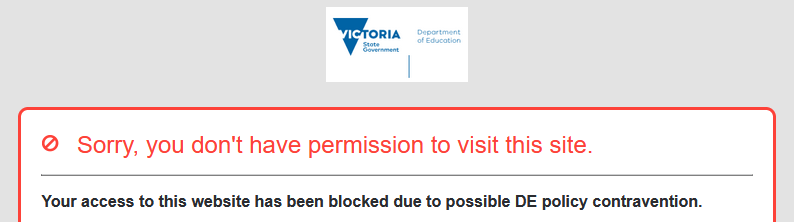
If you believe you have been mistakenly blocked from accessing an online resource, a request can be submitted to review the resource in one of two ways (or both):
Service Request via DE Services Portal
This is the recommended and generally fastest way to have a website unblocked. You will receive a confirmation email from the DE service desk and can track the progress of your request online. Turnover time for requests varies but is generally from a day to a week.
Steps:
- Visit https://services.educationapps.vic.gov.au/ in your browser and login with your education credentials.
- Click Service Request, then select the School Technical Support category, then Service Request.


- Select the Zscaler Service Service and Website/Allow (Whitelist) Request Sub-Service.

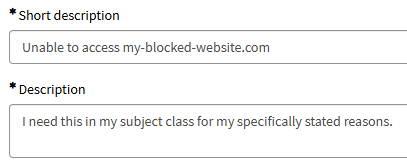
- State your justification for the change in the short and long descriptions and click Submit.





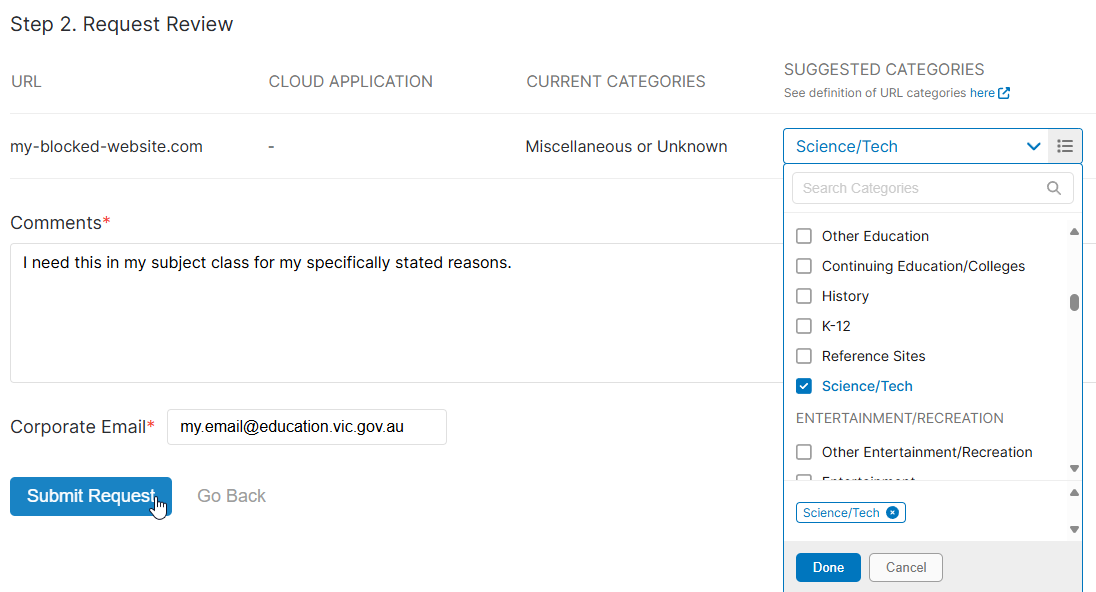
Site Review via ZScaler
This method bypasses the Department of Educaton service desk and submits the request directly to the ZScaler team. You will not receive a confirmation email, only an alert once the resource has been reviewed, stating if the request was successful or not. Turnover time varies greatly, from a week to a month.
Steps:
- Visit https://sitereview.zscaler.com/ in your browser.
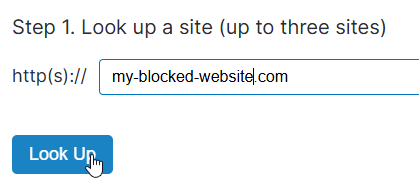
- Enter the URL which you are unable to access and press Look Up.

- Choose the appropriate category for the website and then click Done.
- State your justification for the change in the comments section and click Submit Request.

Webex App | Change your audio settings
https://help.webex.com/en-us/article/n139bv9/Webex-App-%7C-Change-your-audio-settings