How to Map a Network Share to a Folder
🧰 What You’ll Need:
-
The path to the network share (e.g.,
\\servername\sharename) -
Optional: Username/password if required by the network share
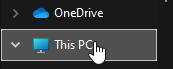
🔹 Step 1: Open File Explorer / This PC
Instructions:
-
Press
Windows + Eto open File Explorer -
Or click the folder icon in the taskbar
- If you are not already in there, In the left-hand sidebar, click on This PC

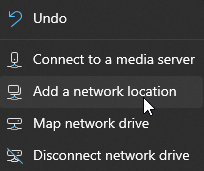
🔹 Step 2: Click "Add a network location"
Instructions:
-
In the top toolbar, click on the three-dot menu (
...) -
Choose "Add a network location"

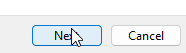
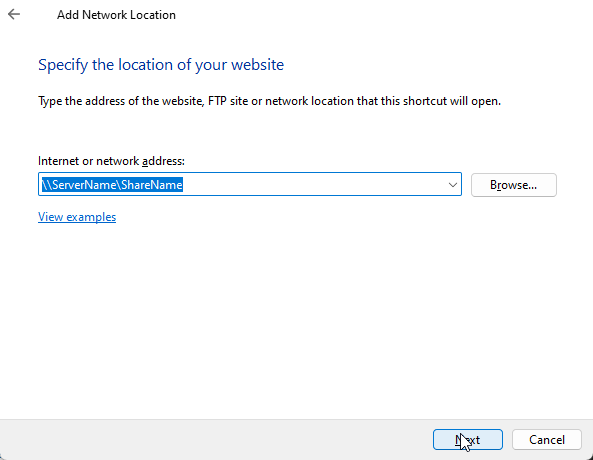
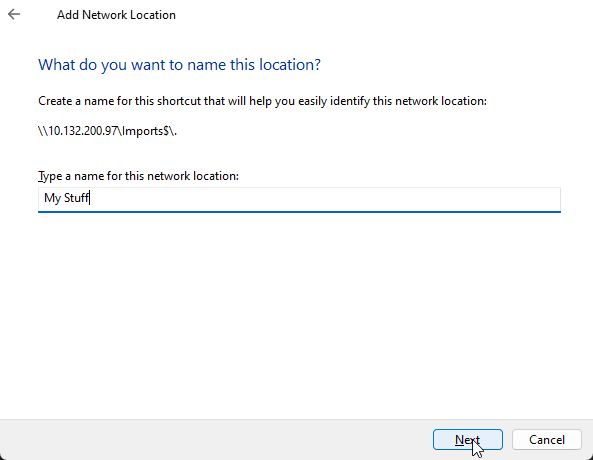
🔹 Step 3: Choose Folder Path and Name
Instructions:
-
Follow the prompts. Click next, then next again.
-
In the Internet or network address field, type the path to the network share (e.g.,
\\ServerName\ShareName) - Click next, then choose a Name to call the folder.
- Click next and then finish.
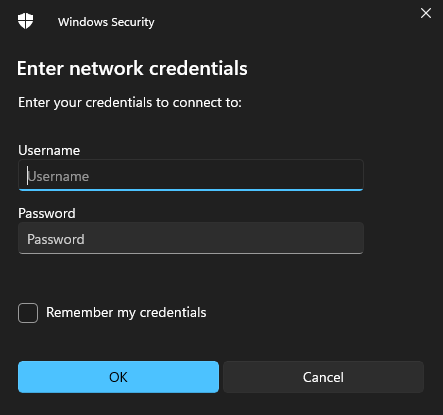
🔹 Step 4: Enter Network Credentials (if prompted)
Instructions:
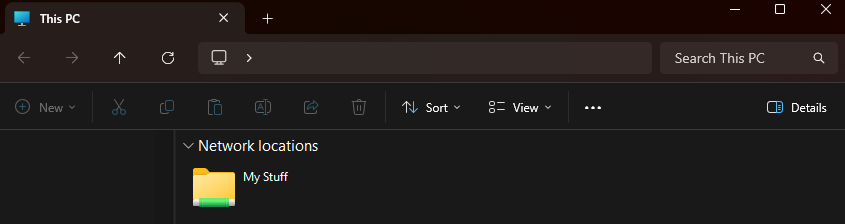
🔹 Step 5: Access the Mapped Folder
Instructions:
-
You’ll now see the new folder in This PC under Network Locations
-
You can open it just like any other folder / drive.
✅ Done!
You’ve successfully mapped a network drive to a folder in Windows 11. It will now show up in File Explorer every time you log in.
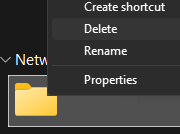
If you want to remove this mapped folder at any time, simply delete it like you would any other folder.
No comments to display
No comments to display